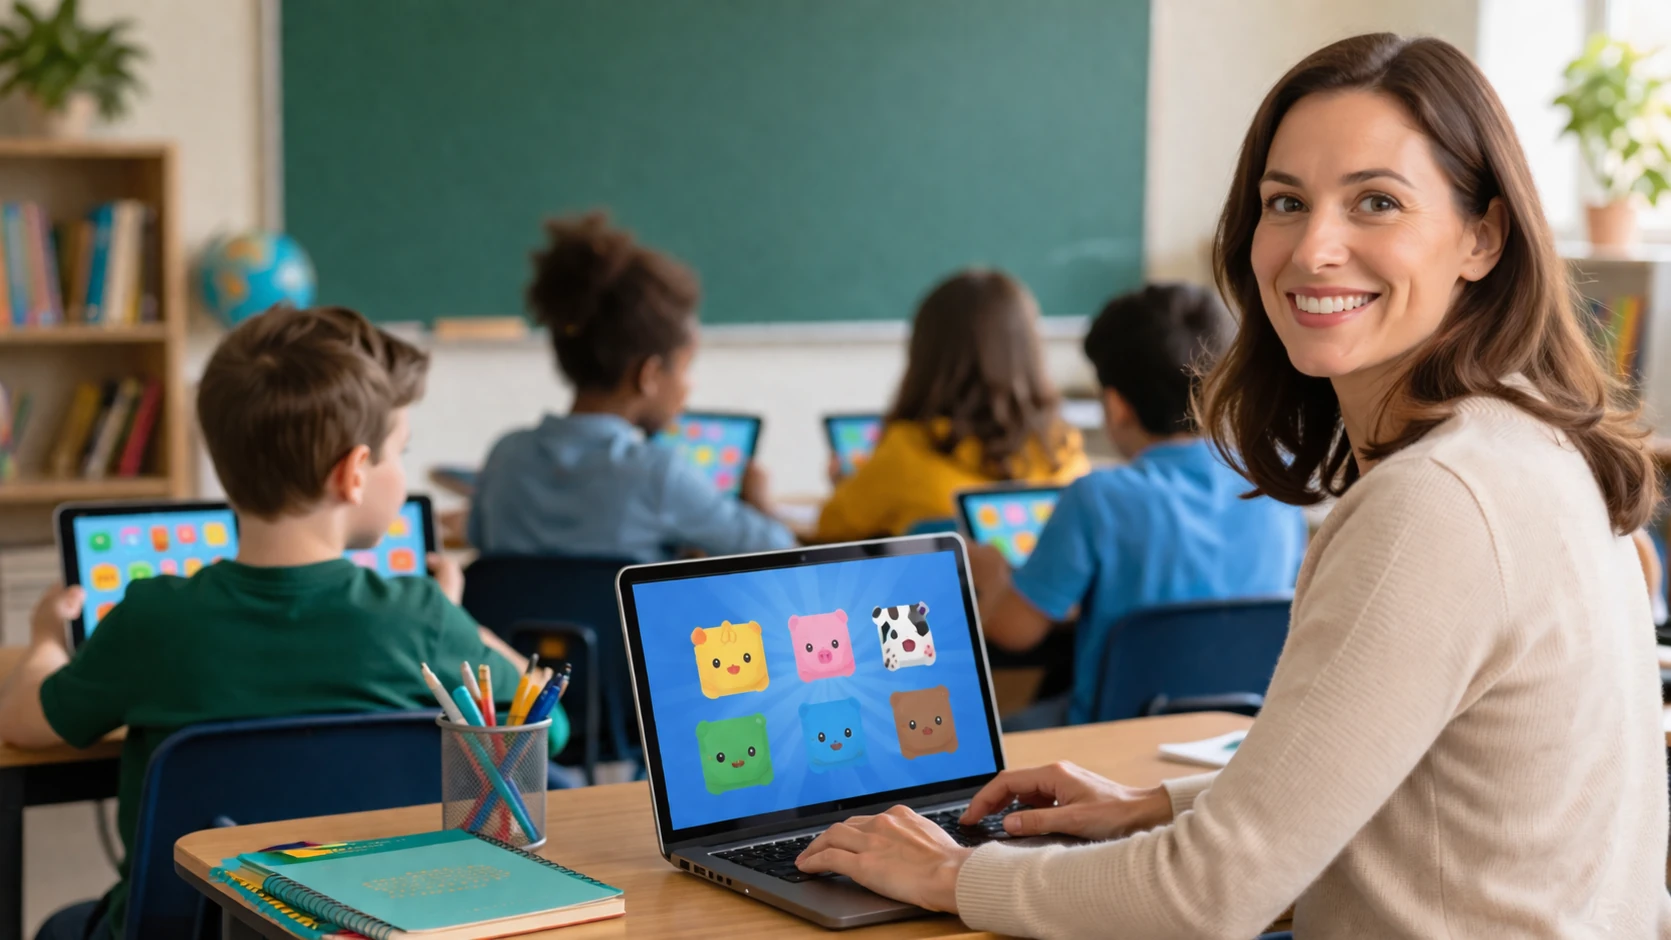
There’s a moment in almost every classroom where attention drifts. The lesson is solid, the material matters, but the energy drops. Tools like Blooket exist to change that dynamic, and for many teachers, the first step is simple: figure out how to host a game without wasting half the class period.
Search “host blooket,” and you’ll find quick instructions. Click here, choose a set, share a code. But anyone who’s actually tried to run a live session knows that hosting is more than clicking a button. The difference between a chaotic five minutes and a smooth, engaging activity often comes down to small choices the host makes before the game even starts.
This guide walks through those choices with clarity. Not just how to host Blooket, but how to do it in a way that works when real students are involved, devices are inconsistent, and time is limited.
What “Host Blooket” Actually Means
At its core, hosting a Blooket game means running a live quiz session where players join using a game code, QR link, or direct URL. The host controls the setup, chooses the question set, selects the game mode, and decides when the game begins and ends.
The structure is simple on paper. A teacher logs into Blooket, picks a set of questions, clicks “Host,” and then shares a code with students. Students enter that code on their own devices and join the session, usually without needing accounts.
But here’s where it gets interesting. The host isn’t just starting a quiz. They’re shaping the entire experience—how competitive it feels, how fast it moves, how organized or chaotic it becomes. The platform gives that control, but it doesn’t explain it clearly upfront.
How to Host a Blooket Game Step by Step
The basic process is quick, and once you’ve done it once, it becomes second nature. Still, the first time matters, especially if you’re standing in front of a class.
Start by logging into your Blooket account. You don’t need a paid plan to host a game, and students don’t need accounts to join. That alone removes a major barrier in most classrooms.
From there, you choose a question set. Blooket offers millions of sets created by other users, or you can build your own. The quality varies, so it’s worth scanning a few before committing, especially if accuracy matters.
After selecting a set, click the “Host” button. You’ll be prompted to choose a game mode. This is one of the most important decisions you’ll make, and many first-time hosts rush through it.
Once you’ve picked a mode, you’ll see a screen with settings. These can include things like allowing late joiners, enabling random names, or adjusting time limits. Make your selections, then start the game.
A game ID appears on the screen, along with a QR code and link. Students go to the Blooket join page, enter the code, and they’re in. When everyone is ready, you hit “Start,” and the session begins.
That’s the mechanics. But the outcome depends on what you do with those settings.
Choosing the Right Game Mode Matters More Than You Think
Blooket offers a wide range of game modes, each with its own structure and pace. Some are fast and competitive. Others are slower and more strategic. A few are built for teams, while most focus on individual play.
The mistake many hosts make is picking a mode at random. The names can be playful, and without context, it’s not obvious how each one behaves in a classroom.
If you’re running a quick review at the end of a lesson, you’ll want something fast-paced where students can jump in immediately. If you’re working with a larger group or want more collaboration, team-based modes may work better, though they require more setup.
There’s also a practical side. Some modes don’t scale as well with larger classes. Others can feel confusing if students haven’t used Blooket before. The best approach is to test a mode yourself before using it live, even if it’s just for a few minutes.
So what does this actually mean? Hosting isn’t just about starting a game. It’s about matching the mode to your classroom situation.
What the Host Controls During a Game
Once the game starts, the host still has influence, though it’s less obvious than during setup. Certain controls remain available, and they can make a real difference.
One example is managing late joiners. If students arrive late or have trouble connecting, the host can allow them into the session without restarting everything. That can save time and avoid frustration.
Random name generation is another tool that’s easy to overlook. In classrooms where students might choose inappropriate names, enabling this option keeps things under control without constant monitoring.
There’s also the ability to end a game early. This becomes useful when time runs short or when the activity has served its purpose. You don’t have to wait for the full session to finish.
After the game ends, hosts can access reports. These show how students performed, which questions were missed, and where understanding might be weak. It’s not a full analytics system, but it’s enough to inform your next lesson.
Do Students Need an Account to Join?
One of the reasons Blooket spread quickly in schools is how easy it is for students to join. For live games, students typically don’t need accounts. They enter the game code, choose a name, and start playing.
That simplicity matters. It removes login delays, forgotten passwords, and the usual friction that comes with digital tools. In a classroom setting, that can be the difference between a five-minute setup and a fifteen-minute one.
That said, students who create accounts can track progress, earn rewards, and access additional features. But for hosting a live session, accounts are optional.
There’s a catch, though. Schools may have their own policies around accounts and data, so some teachers prefer to keep things account-free unless there’s a clear benefit.
Free vs Paid Hosting: What Changes
Blooket offers a free version with most core features available. For many teachers, that’s enough to run effective sessions without paying anything.
The main limitation on the free plan is the number of players. Live games typically support up to 60 participants. That covers most classrooms, but larger groups may run into limits.
The paid Plus plan increases that cap, often up to 300 players depending on the mode. It also adds features like enhanced reports and longer deadlines for assigned homework.
But here’s the thing. Not every classroom needs those upgrades. If you’re running a single class of 25 to 40 students, the free plan does the job. The value of Plus depends on scale and how much you rely on detailed data.
Hosting Live Games vs Assigning Homework
Blooket doesn’t only support live sessions. You can also assign games as homework, allowing students to complete them on their own time.
The difference is more than timing. Live games create energy and competition. Students see rankings update in real time, which can boost engagement. Homework assignments, on the other hand, are quieter and more flexible.
If you’re trying to reinforce learning outside class, homework mode works well. If you’re trying to wake up a room or review before a test, live hosting is the better option.
Many teachers use both. A live session introduces or reviews material, and a homework assignment reinforces it later.
Common Problems When Hosting Blooket
Even with a simple setup, things can go wrong. And when they do, they usually happen at the worst possible time—right as students are trying to join.
One common issue is students being unable to access the site. This can be due to school network restrictions or outdated browsers. Testing Blooket on your school’s network ahead of time helps avoid surprises.
Another problem is incorrect game codes. Students may mistype the code or join the wrong session. Displaying the code clearly and giving verbal instructions reduces confusion.
Device differences can also cause delays. Some students join on phones, others on laptops or tablets. The experience is generally consistent, but slower devices can lag during fast-paced modes.
There’s also the human factor. Students may join late, pick inappropriate names, or need help navigating the interface. That’s where host settings—like random names and late joining—become more than optional features.
What You Learn After the Game Ends
After hosting a session, Blooket provides basic reports that show how students performed. These include correct and incorrect answers, as well as overall rankings.
For teachers, this is where the tool becomes more than entertainment. Patterns start to emerge. You can see which questions most students struggled with and which topics may need review.
The data isn’t deep enough to replace formal assessment, but it’s useful for quick insights. If half the class misses the same question, that’s a signal worth paying attention to.
Paid users get more detailed reports, but even the free version offers enough to inform teaching decisions.
Frequently Asked Questions
How do you host a Blooket game?
To host a Blooket game, log into your account, choose a question set, click “Host,” select a game mode, adjust settings, and then share the game code or link with players. Once students join, you can start the game from your host screen.
Do students need an account to join a hosted Blooket game?
No, students do not need an account to join a live Blooket game. They can enter the game code, choose a name, and begin playing without signing up.
Is Blooket free to host?
Yes, Blooket offers a free version that allows you to host games with core features. There are limits, such as the number of players, but most classrooms can use the free plan without issues.
How many players can join a Blooket game?
On the free plan, live games usually support up to 60 players. Paid plans increase this limit, sometimes up to 300 players depending on the game mode.
Can you host Blooket as homework instead of live?
Yes, Blooket allows you to assign games as homework. Students can complete them on their own time, and you can review their performance afterward.
Why can’t students join my Blooket game?
Students may have trouble joining due to incorrect game codes, network restrictions, or device issues. Checking the code, testing the platform in advance, and using compatible devices can help prevent these problems.
READ ALSO:Famous Trios: Stories of Three That Changed Culture
Conclusion
Hosting a Blooket game looks simple at first glance, and in many ways it is. You can go from login to live session in a matter of minutes. But the difference between a smooth experience and a frustrating one often comes down to preparation.
The host sets the tone. The choice of game mode, the handling of join settings, and the ability to respond to small issues in real time all shape how the activity plays out. These decisions aren’t complicated, but they matter.
That said, Blooket works best when it’s used with intention. It’s not just a way to fill time or add noise to a lesson. Used well, it gives teachers a quick way to check understanding and keep students engaged without heavy setup.
So what does this actually mean? Hosting Blooket isn’t just about starting a game. It’s about running a session that fits your classroom, your timing, and your goals. Get that right, and the tool does the rest.